Air drying clay pots

This was my 4th ever try at pottery, I totally sucked the first 2 times. The 1st try was 20 years ago, my clay sculpture was so ugly that I still remember how disappointed I was in my absence of pottery talent. 2nd try was 3 years ago, I made 3 mini pots, fired them in the kiln and glazed them, and totally hate these ugly creatures, even now. I decided to give up on clay. And then came Misty with her online workshop "Full Circle" and inspired me to try the clay again. This time I pulled off a very cute owl, and 2 weeks late I actually got 5 functional pots for my art room tools. Yeaa!

ClayPots-AnnieHamman01

I used to use this plastic container for my brushes and now made a duplicate out of air drying clay. So much more character!

ClayPots-AnnieHamman02a

ClayPots-AnnieHamman02d

ClayPots-AnnieHamman02c

I just want to share where I learned to make a face from air drying clay, in this small simple well explained workshop of Jennifer Rizzo. She just rolls small balls and sausages in her hands and press them into face to create cheeks, chin, lips, eyes etc. So simple!

ClayPots-AnnieHamman02b

Ok, I admit, I bought these stones at the craft shop to insert into my pot while the clay is still wet. They can be easily made, but it saved me some time:

ClayPots-AnnieHamman03a

ClayPots-AnnieHamman03b

This weird one I call "Organic Pot". I found this organic matter (some kind of coral) also at the craft shop. I first made and dried the pot, then smudged modelling paste all over it and pressed the grass into the paste. Once dry, I treated coral with Poertex (hardening agent), it didn't solidify it but made it harder. After it dried, I trimmed excess of he grass and painted pot in raw umber and grass in Renaissance Gold acrylic. If I had to do it again, I would add color to the modelling paste before smudging it on the pot, because later it was very hard to get into all white spots around the grass, trying to paint the pot.

ClayPots-AnnieHamman04a

ClayPots-AnnieHamman04b

Easiest way to make a cool pot is stamps! I rolled slab of clay into this old carved wooden tray and when I lifted the slab - the print was on the other side of it. Put the sides of slab together, attach round bottom - and you got the pot. Will definitely do this one again, such a time saver. I also pressed some wooden beads into clay for extra texture.

ClayPots-AnnieHamman05a

ClayPots-AnnieHamman05b

ClayPots-AnnieHamman05c

Last pot: I made it plain and simply so I could paint on it like on canvas:

ClayPots-AnnieHamman06a

ClayPots-AnnieHamman06b

My clay owl-woman with pocket in front:
Sculpture_Air_Clay_Woman-Owl01

Sculpture_Air_Clay_Woman-Owl02


Mixed Media Dream Box - Journal about dreams

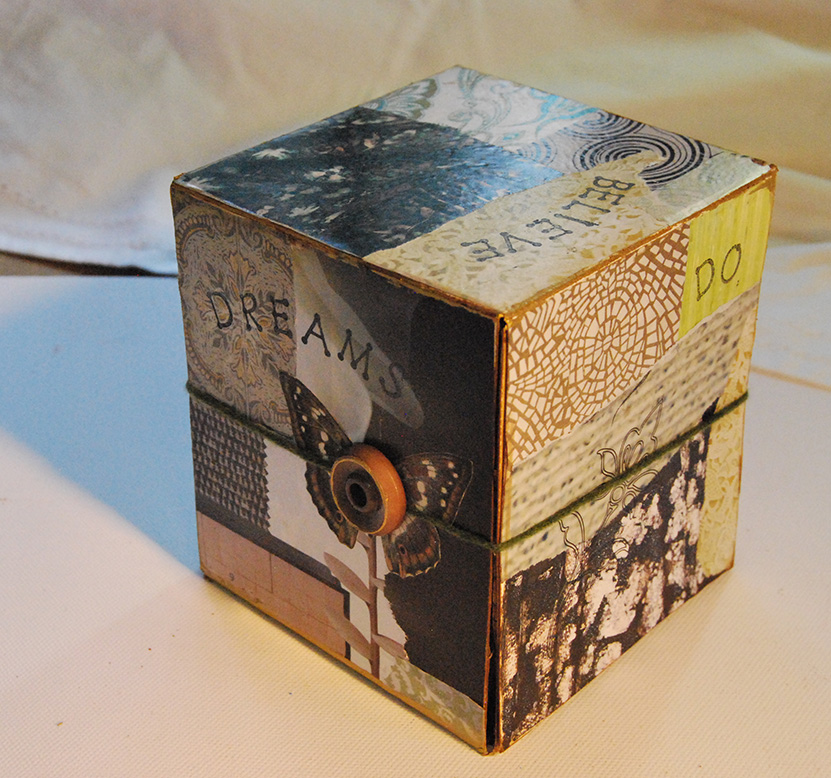
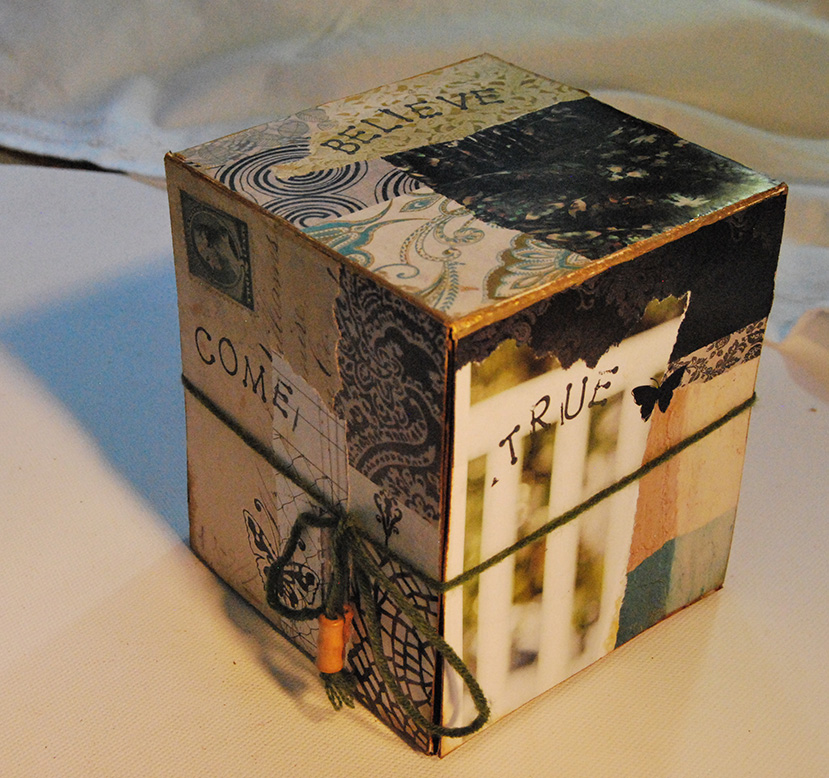
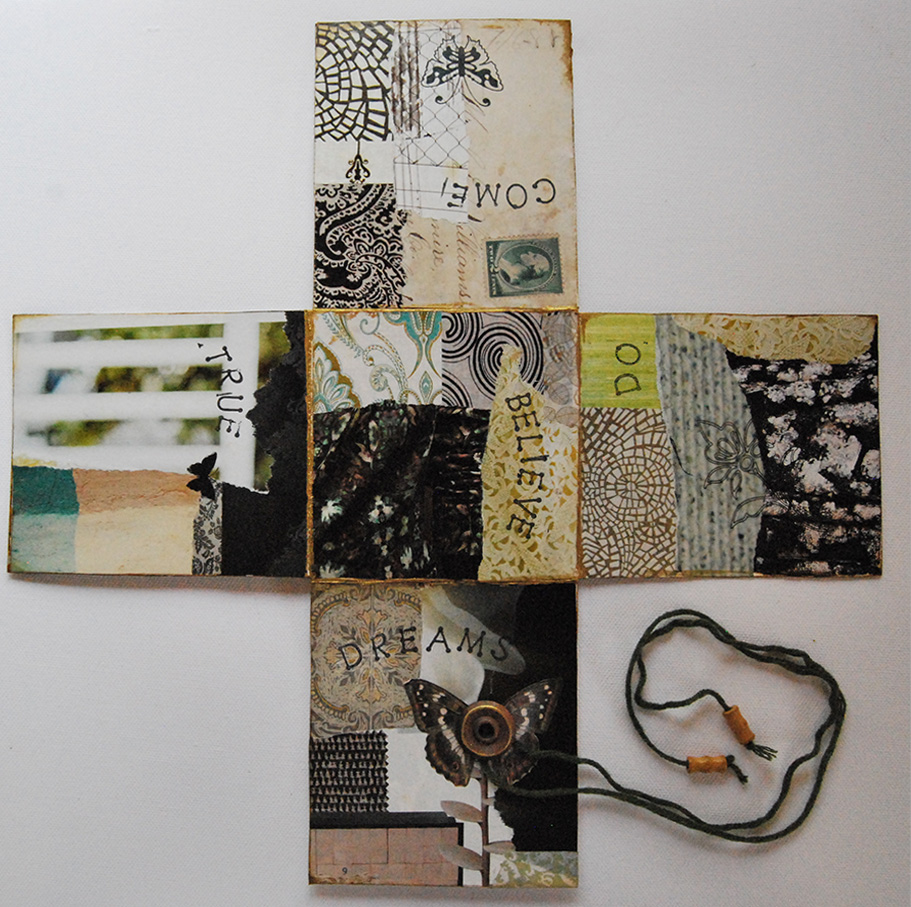
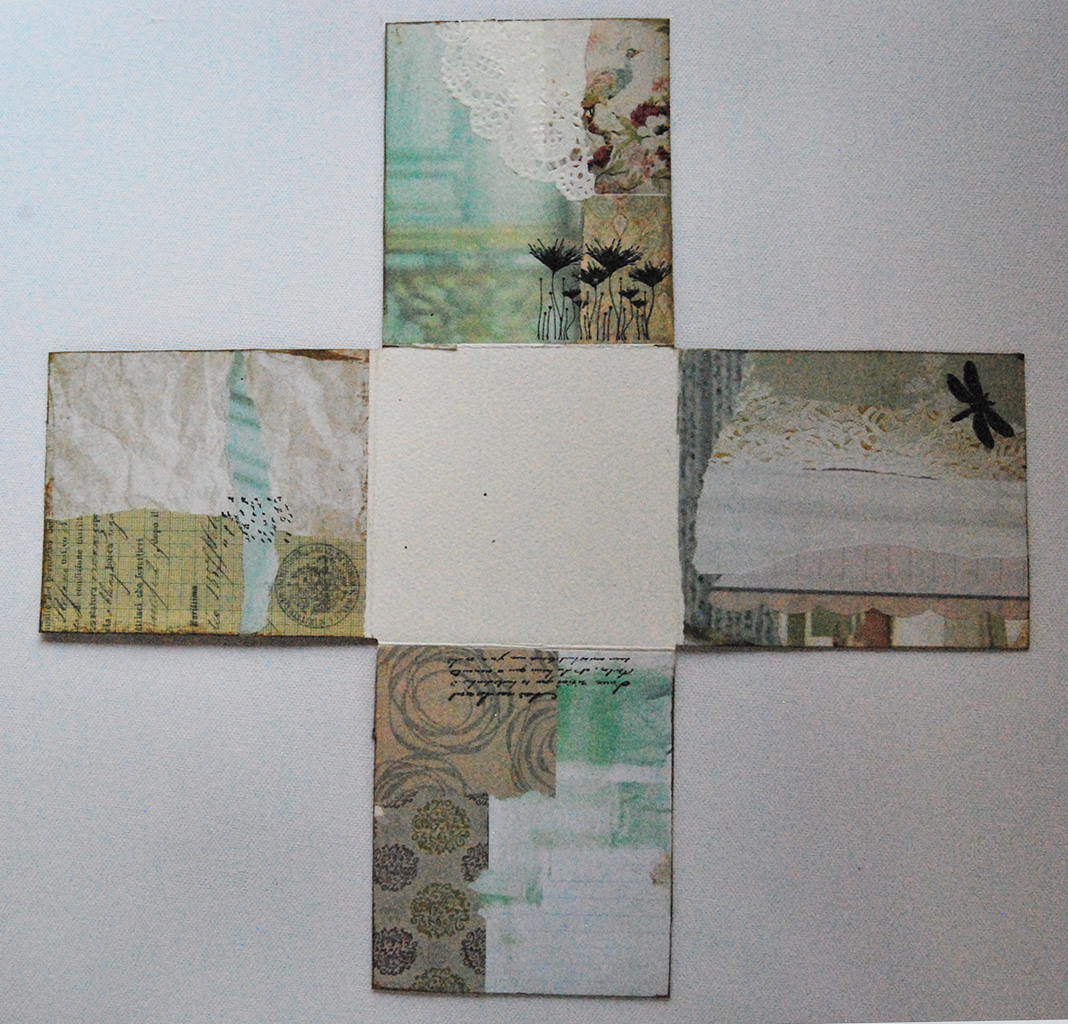
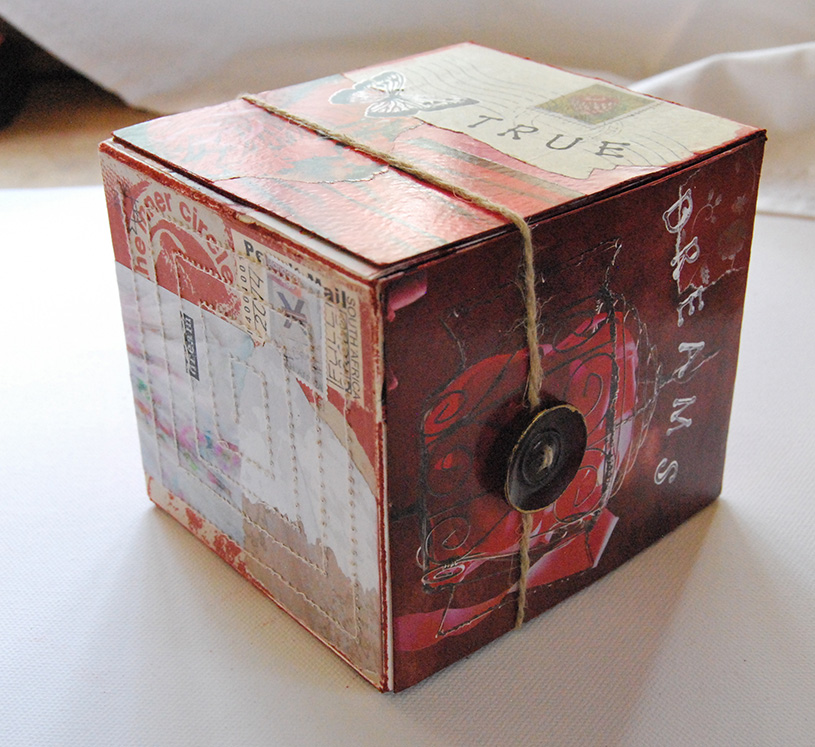
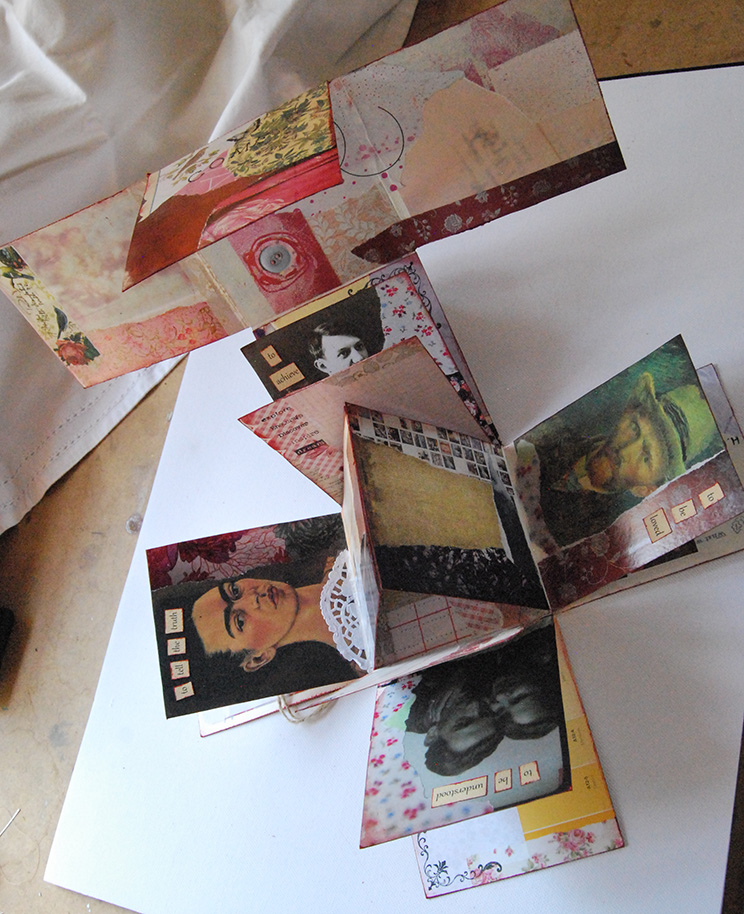
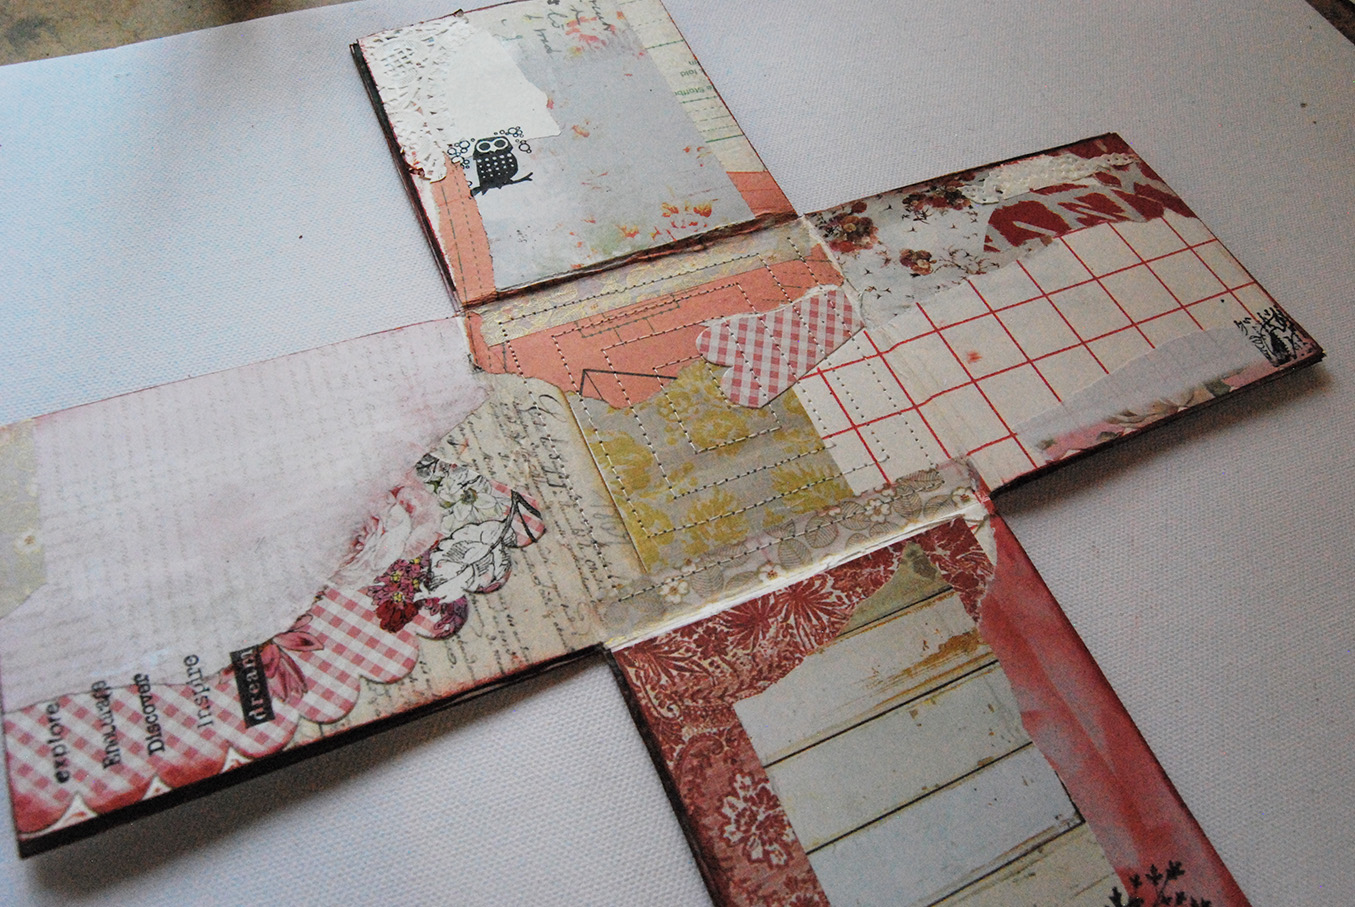
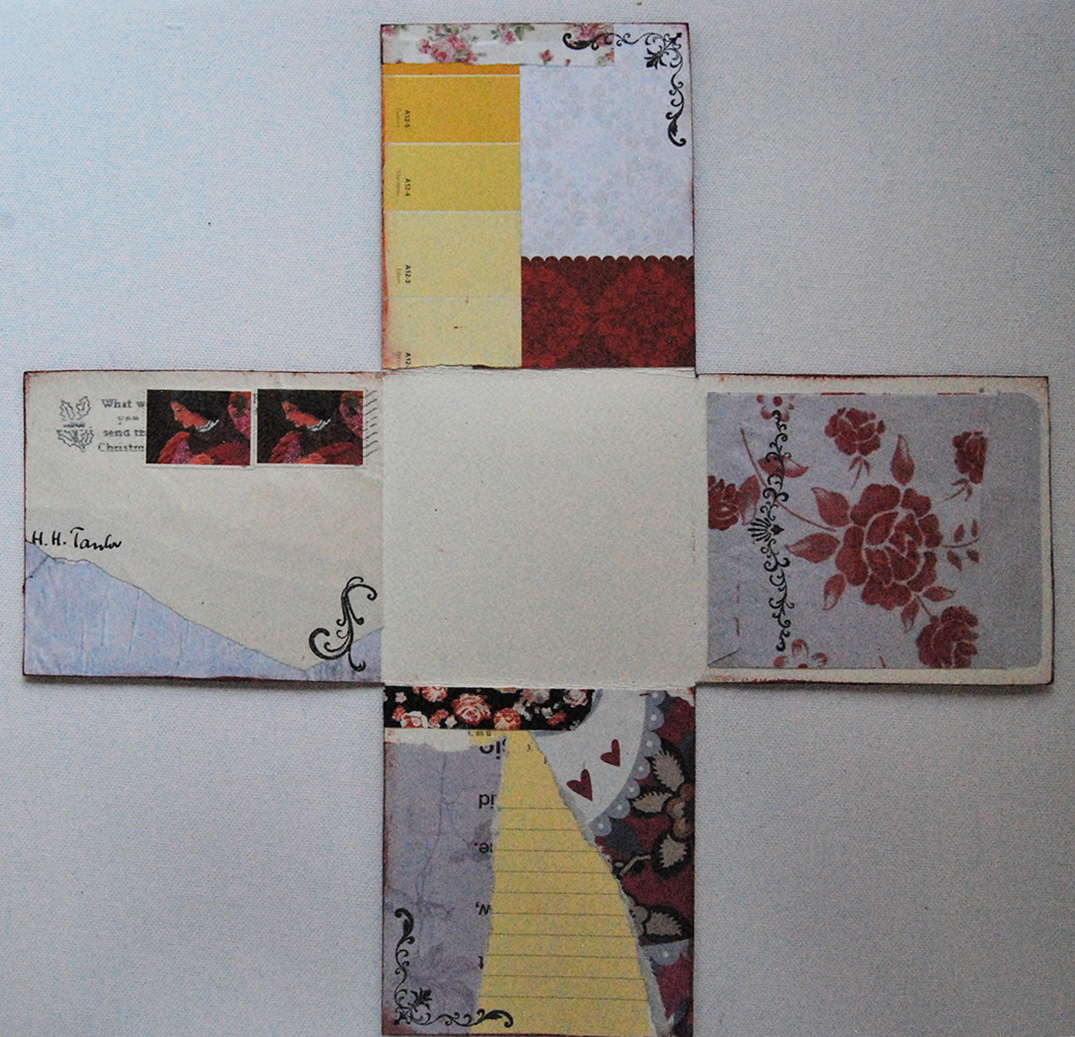
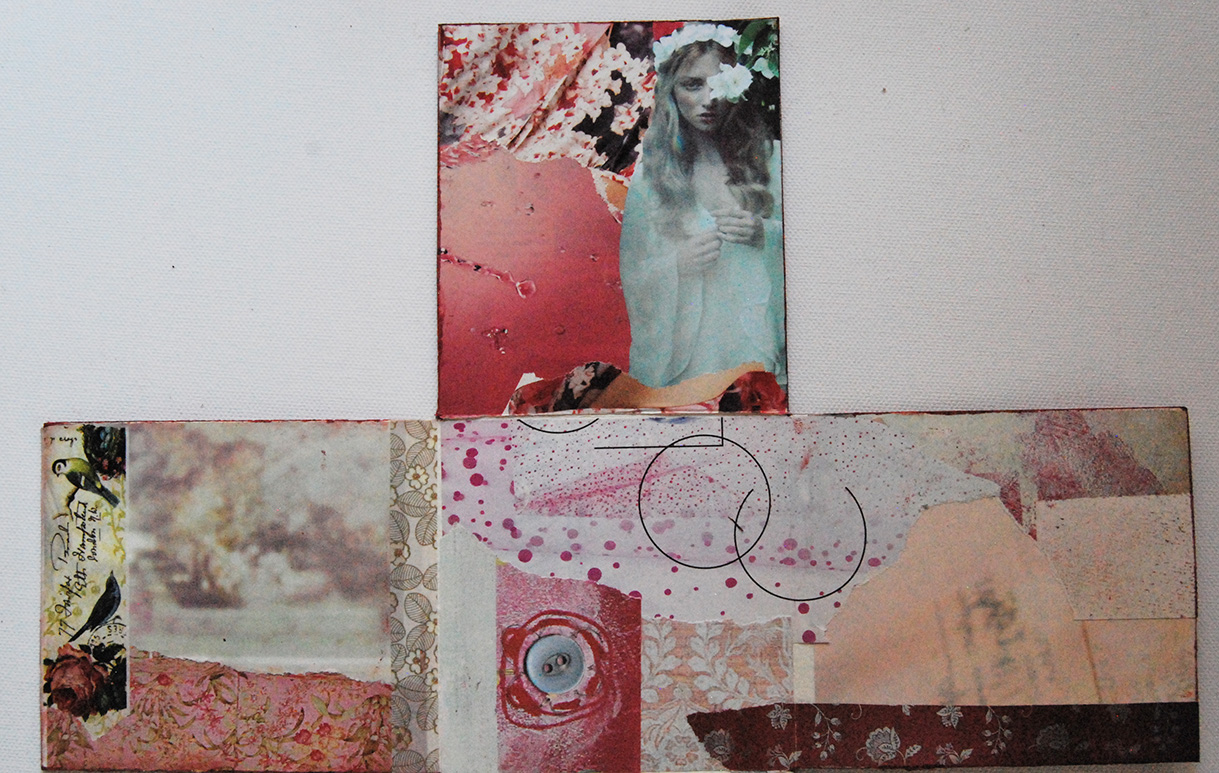
Here is my finished box of Dreams, made with sturdy 300 lb paper, collage, stamps, sowing and embellishments. The only thing missing is filling it with my list of dreams I would like to come true and may be some quotes about dreams. Idea of 3-dimensional journal is very interesting, it's never going to be tucked away on the shelf with other books, but instead, like all sculptures will stand out and scream "pick me! open me!" Collage designed in a way that there is space to write my thoughts on, there are actually 25+ mini pages to write on, wow.

MixedMediaDreamBoxPink04

MixedMediaDreamBoxPink03

MixedMediaDreamBoxPink05

MixedMediaDreamBoxPink06

MixedMediaDreamBoxPink01

MixedMediaDreamBoxPink02

MixedMediaDreamBoxPink08

MixedMediaDreamBoxPink07

MixedMediaDreamBoxPink14

MixedMediaDreamBoxPink12

MixedMediaDreamBoxPink13

MixedMediaDreamBoxPink11

MixedMediaDreamBoxPink09

MixedMediaDreamBoxPink10

Few completed art projects.

Photographic project, titled "Day in my life" was fun and fairly easy one to do. I did some photoshop enhancement on the orange color and it came out quite well:

A_Day_In_My_Life01

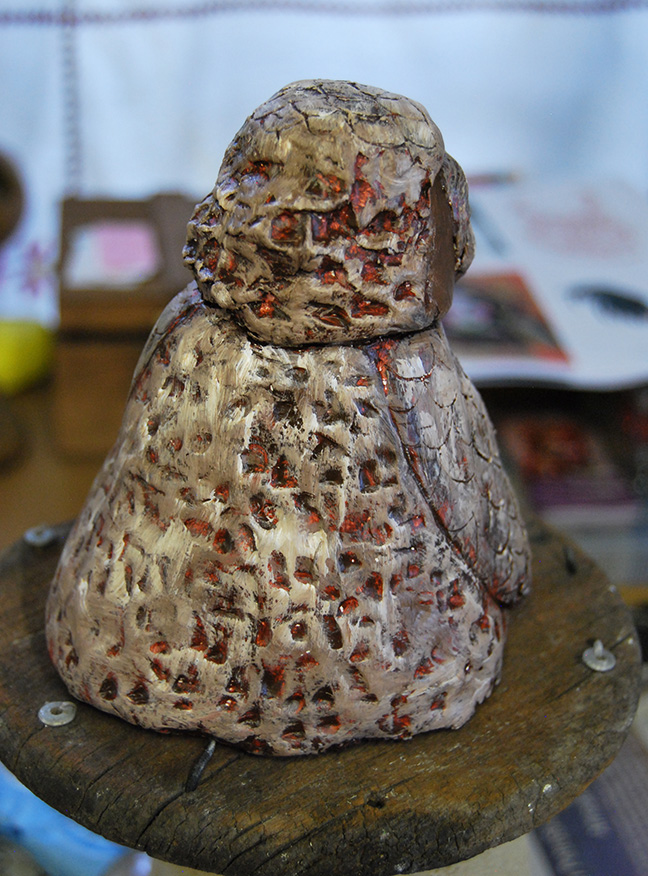
Made this cute sculpture of a folk owl-woman using air-drying clay and acrylics. Added pocket in front to hold something in, may be business cards? (Etsy Shop)

Sculpture_Air_Clay_Woman-Owl01

Sculpture_Air_Clay_Woman-Owl02

Sculpture_Air_Clay_Woman-Owl03

Gessoed vintage 1910 music book to transform it into an art journal. The cover before:

Vintage_Altered_Book02

The cover after:

Altered_Vintage_Book01

First page before:

Vintage_Altered_Book03

First page after:

Altered_Book_Journal_Page04

Vintage book primed with gesso and added collage:

Altered_Vintage_Book02

Did some value studies for Misty Mawn workshop "Full Circle". Still life by the window:

Still_Life_Value_Study01

Victorian girl. (Etsy Shop):

Value_Study_Victorian_Girl01

Mixed-Media Lanterns

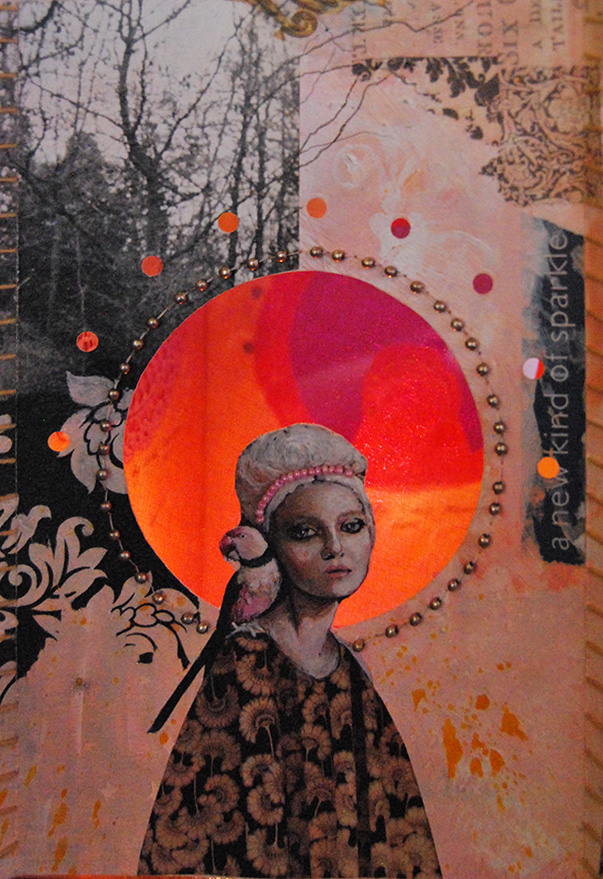
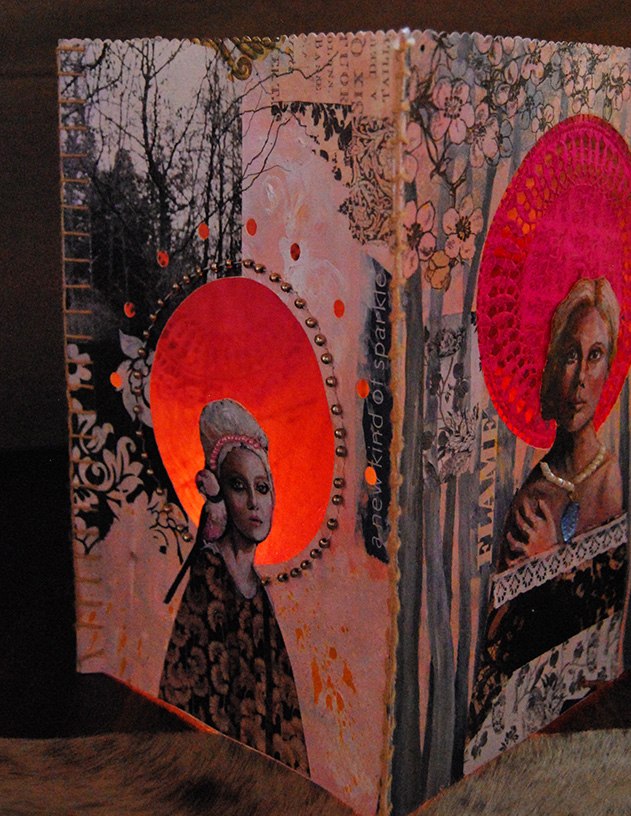
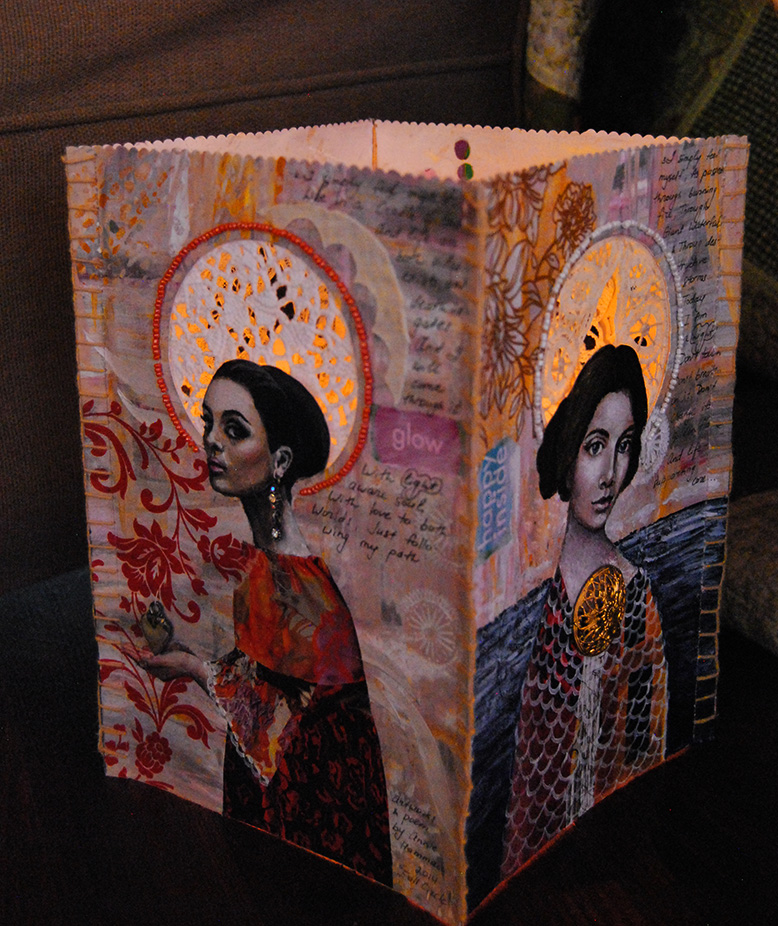
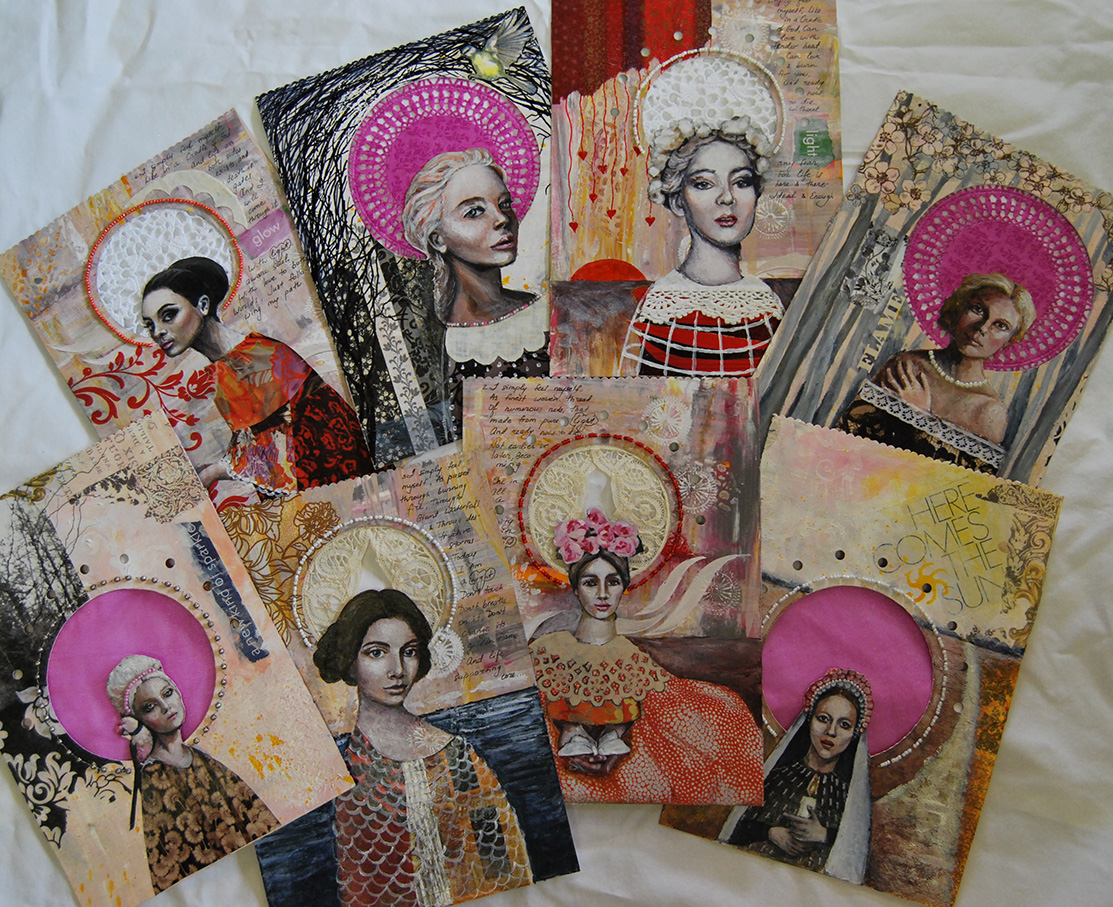
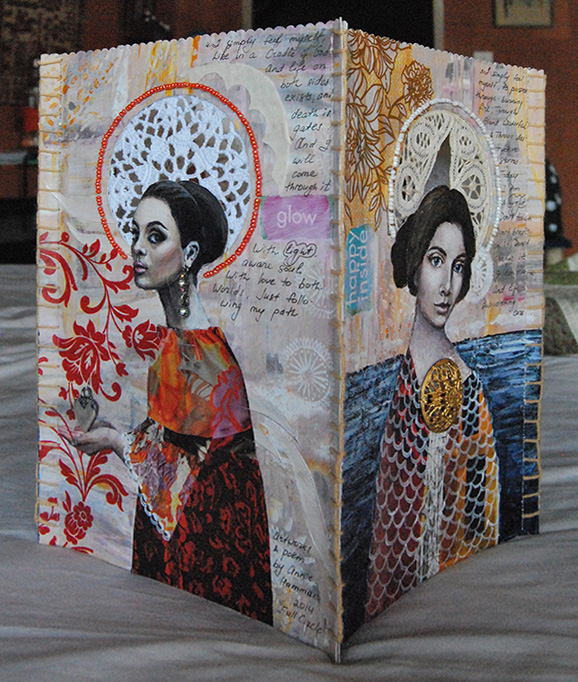
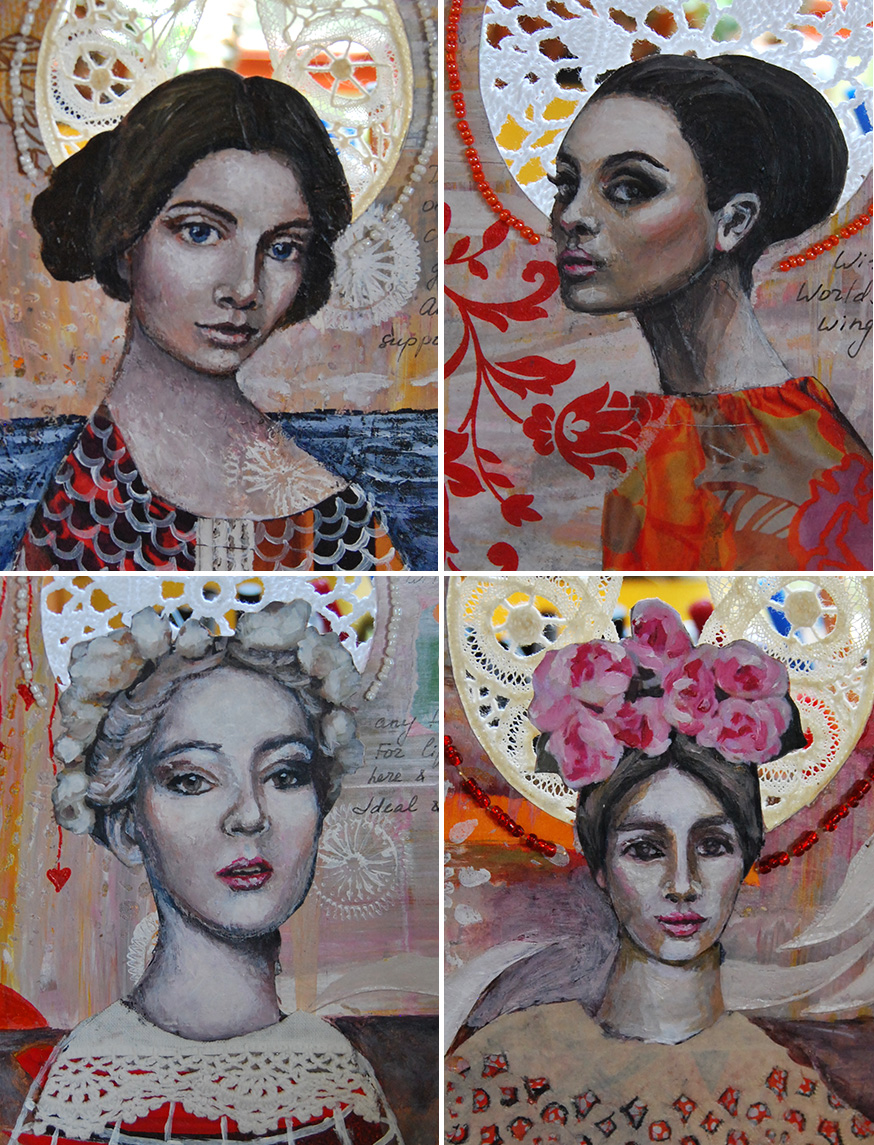
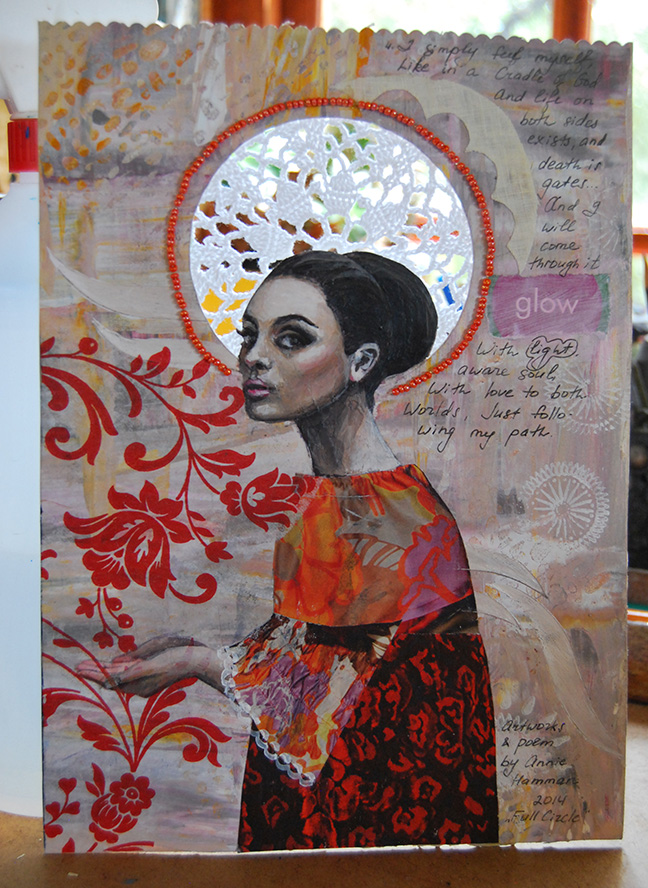
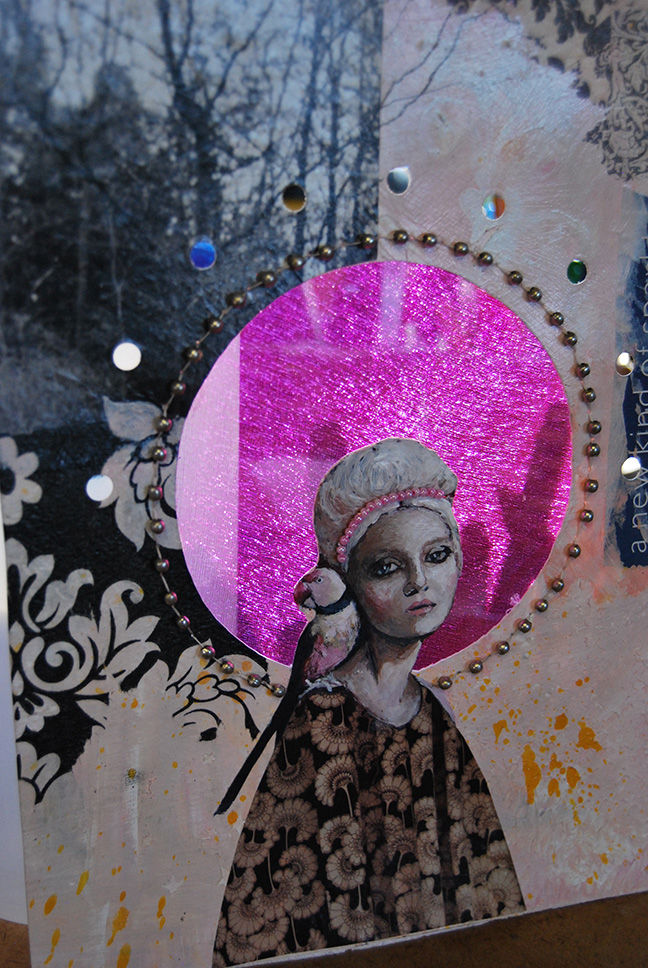
I created these 2 mixed-media lanterns based on assignment given on 2nd week of Misty Mawn "Full Circle" workshop. They were supposed to be a bit more simple, but I went overboard with detail and layers. I thought I would like to enjoy looking at them not only at night, when they lit up, but also during the day. I painted faces in acrylics using pictures as references, added organza, vintage doilies, paper doilies, lace, beads and other embellishments. The insides we painted as well. And now, I light a candle and put it inside! (I only made 2 of them and after some consideration decided to sell them in my Etsy shop.)

Lit_Up_Glowing_Lantern05

Lit_Up_Glowing_Lantern04

Lit_Up_Glowing_Lantern03

Lit_Up_Glowing_Lantern02

Lit_Up_Glowing_Lantern01


Lit_Up_Glowing_Lantern08

Lit_Up_Glowing_Lantern07

Lit_Up_Glowing_Lantern06

Mixed_Media_Faces_for Lantern01

Lantern_Assembled04

Lantern_Assembled03

Lantern_Assembled02

Lantern_Assembled01

Inside_Lanterns02

Inside_Lanterns01

Mixed_Media_Portraits02

Mixed_Media_Portraits01

Mixed_Media_Lantern02-Side 4a

Mixed_Media_Lantern02-Side 3a

Mixed_Media_Lantern02-Side 2a

Mixed_Media_Lantern02-Side 1a

Mixed_Media_Lantern01-Side2b

Mixed_Media_Lantern01-Side1b

Mixed_Media_Lantern01-Side 4a

Mixed_Media_Lantern01-Side 3b